Working With Projects
This article contains basic information about projects in Container Registry.
What Projects Are For
When you log in to your Container Registry account, you will land in the Projects section. Projects play a central role in Container Registry for two reasons.
Projects host all repositories of the application that you need images for. Basically, a simple rule will be one project = one application. Inside a project, you can have multiple repositories.
Consequently, you can only start working with images, if you have at least one project. By default, upon your initial registration, a sample project will be created for you automatically. The repositories can be created with the push or from the console UI.
Permissions are set on the project level in the form of Role-Based Access Control (RBAC). Look here to learn about certain actions that users with different roles can perform.
Types of Projects
Harbor allows two types of projects: public and private.
Public projects do not require project membership to pull images from this kind of project. The users do not even need login credentials for their Docker clients.
On the contrary, to access private projects, you have to be added to it by the project administrator. The project administrator is another user and not necessarily the system administrator / superadmin of your instance.
Read more about assigning users to projects in this article.
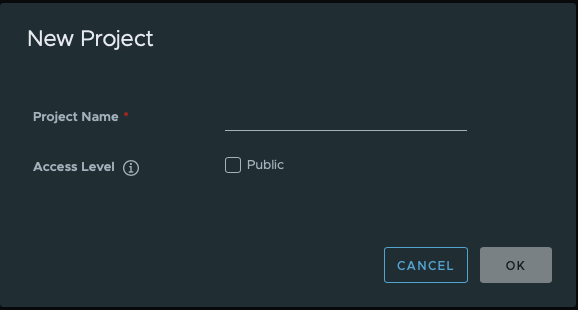
Create New Project
- Navigate to the Projects section;
- Use the + NEW PROJECT button;
- Give your project a name;
- Set the access level to public or private.
Set Project Quotas
Project quotas are storage quotas for your images. If you create a project as a user, ask your superadmin to adjust the storage quotas (refer to the administration manual).
If you create a project as a superadmin, you will be able to set the quotas directly in the dialogue window:
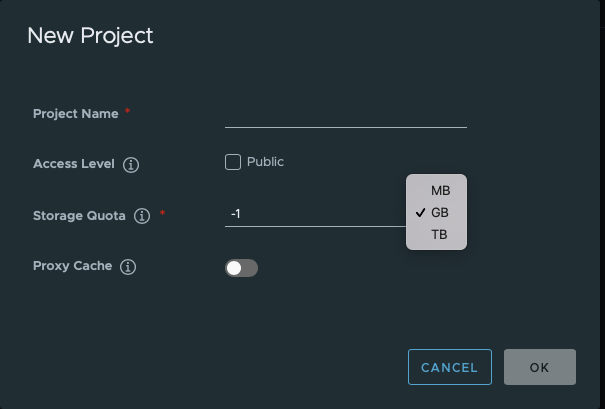
- Set a number and select the scale;
- Type in -1 to set an unlimited storage quota.
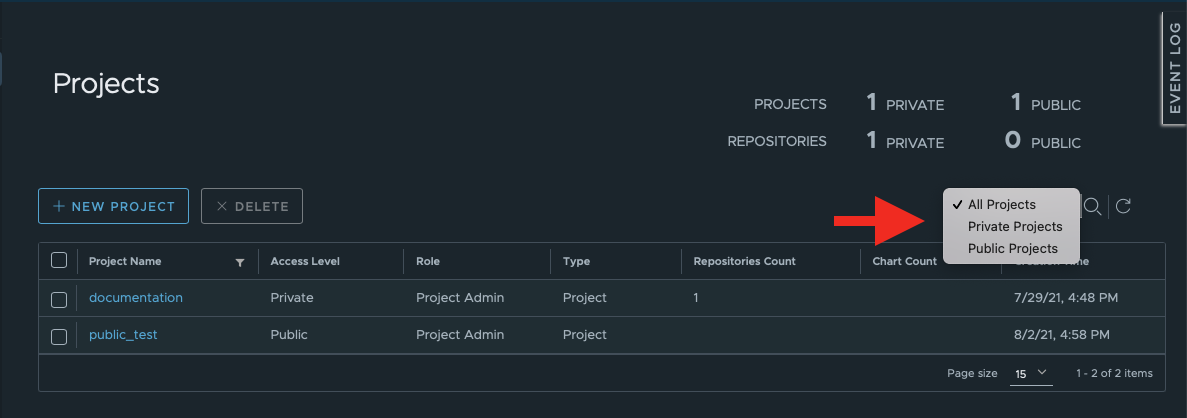
Filter or Search Projects
In the Project section, you can filter your projects by:
- their type: public or private;
- their name.
To filter by project type, use the following dropdown:
To filter by project name, use the search field:
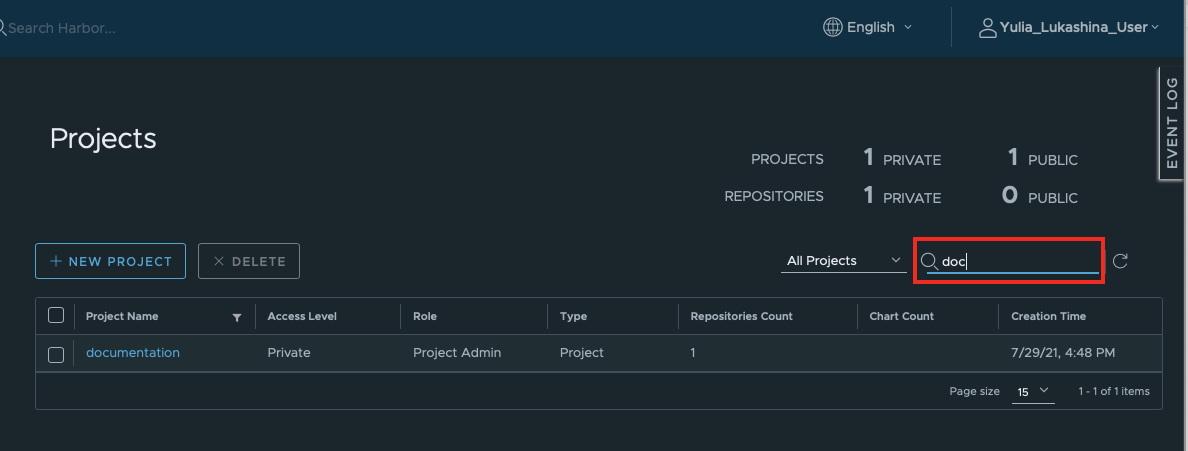
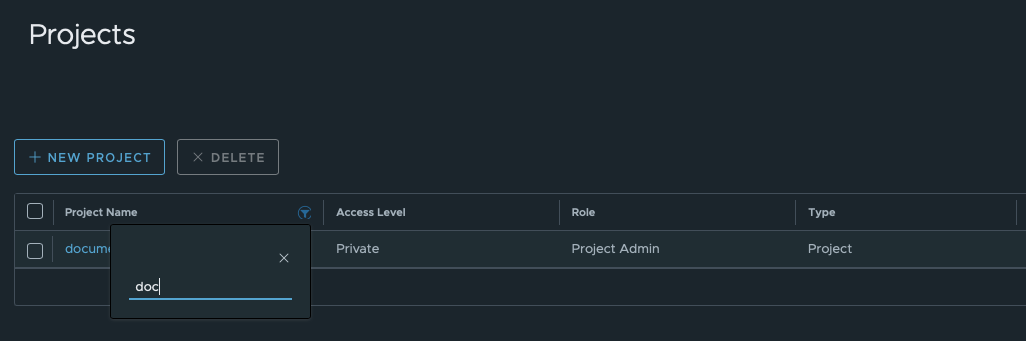
You can also search for projects using the seach icon in the Project Name column header:
To display all projects again, delete your search string and click X.
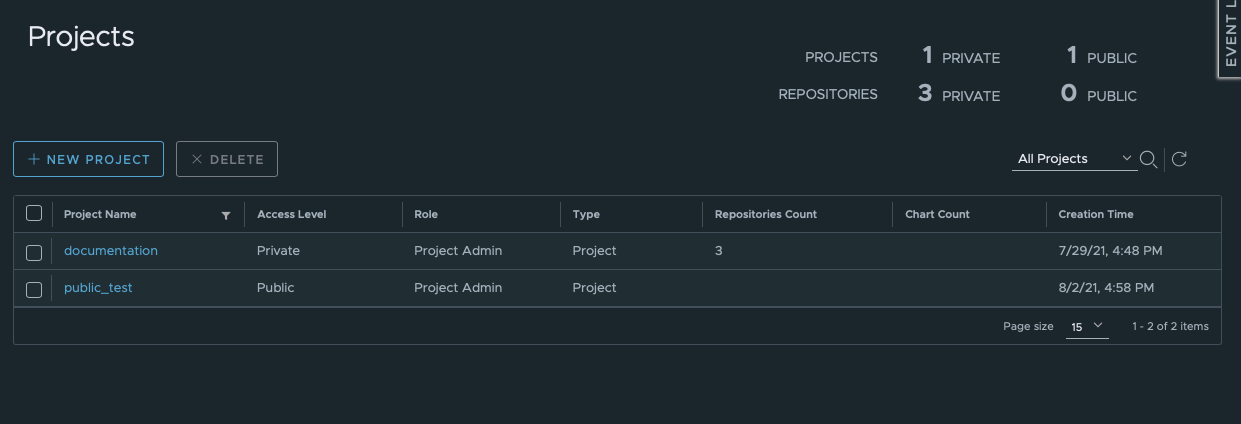
Refresh Existing Projects
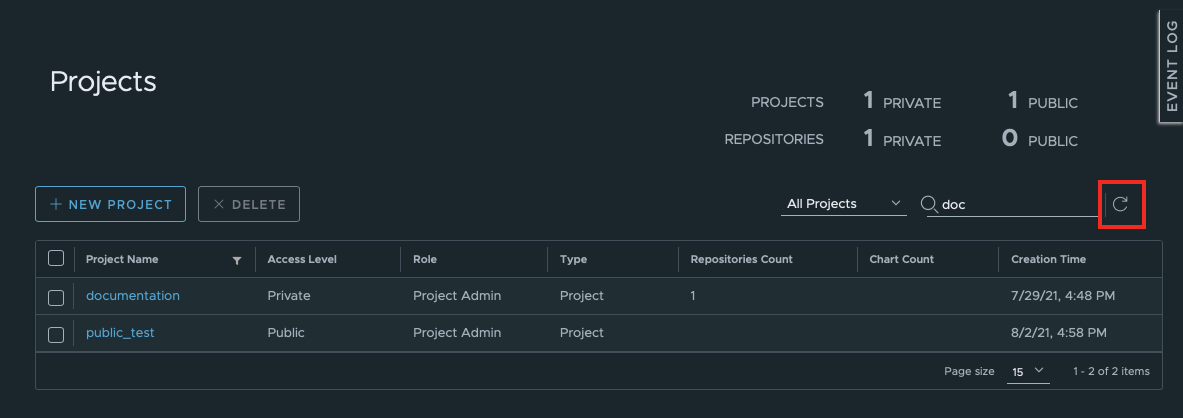
Since more than one project admin is possible per project, more than one collaborator can create and delete projects in the same instance. If you notice that some repositories or certain images are missing, try to refresh the list of existing projects to make sure that you are looking at the actual view:
Delete Projects
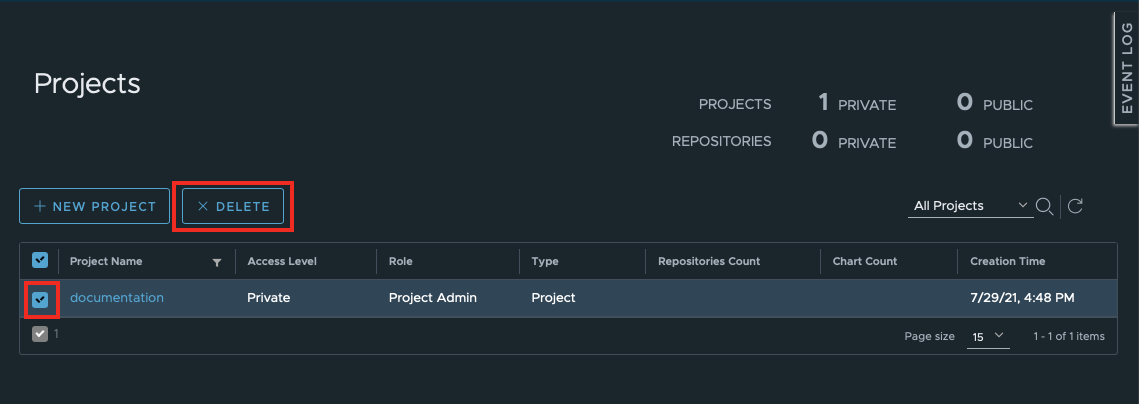
If you have a project admin role in the project, you can delete your projects.
Inside the Projects section, select the projects you want to delete and click Delete:
Project Summary
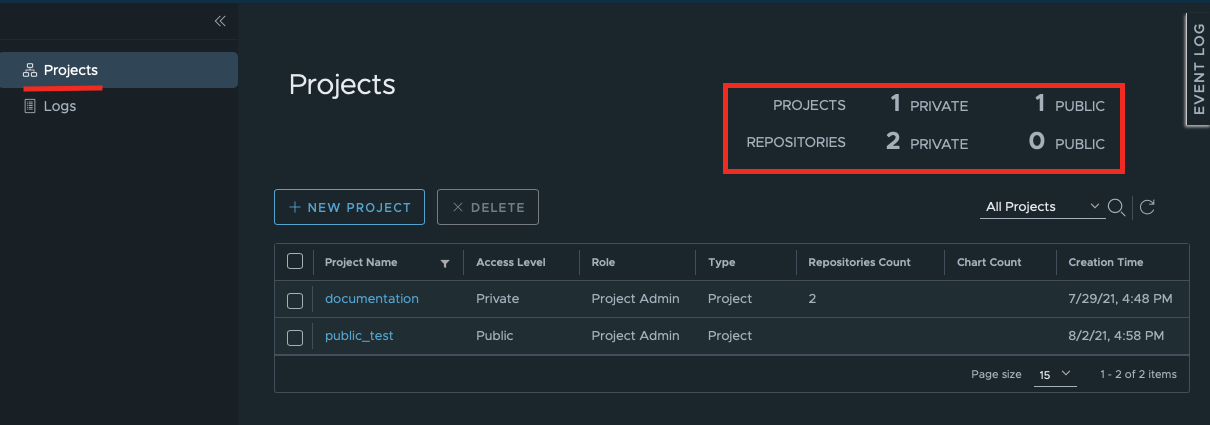
Summary of All Projects
When you are on the highest level of the project section, you can see the following summary of your projects and repositories:
Project List
Inside the project section, you can see the list of all projects you are the member of, as well as some basic information about them:
- Project names;
- Their type (shown as Acess Level column);
- Your role in each project;
- The type of the entry;
- Number of the repositories
- Number of charts;
- Creation time.
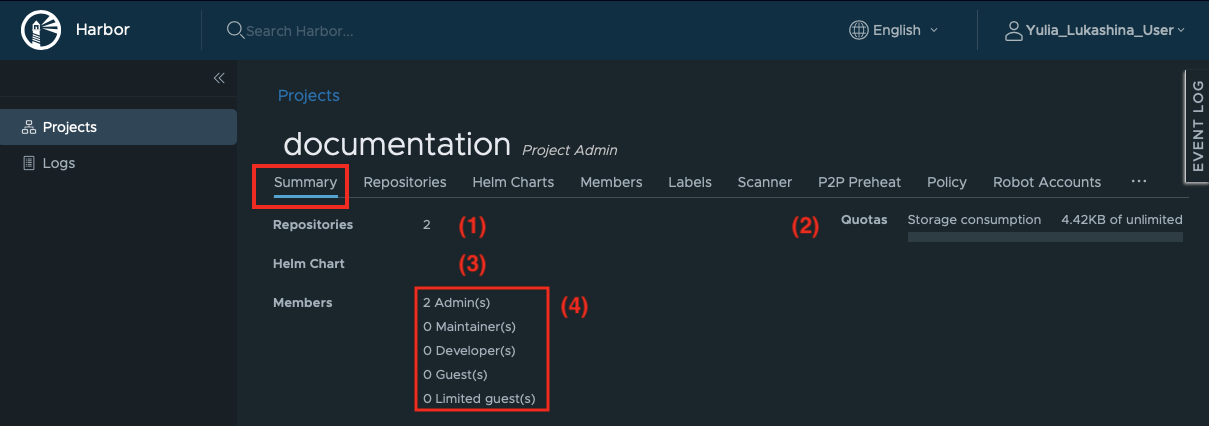
Summary of Each Project
Inside every project, you can get a similar summary that includes:
- number of repositories in the project (1);
- project quotas: storage consumption (2);
- number of helm charts (3);
- number of project members per project role (4).