How to Setup Google Workspace as OIDC Provider for Your Harbor Container Registry
In this tutorial, we will show you how to configure all necessary settings in your Google Workspace.
The steps appear in chronological order but some of them may be skipped if you already dealt with Google Cloud before.
The other tutorial explains what you should do in your Container Registry instance if you want to use OIDC authentication in general. However, before doing anything in Container Registry, you need to complete the configuration on the provider side.
Prerequisites
You need a custom domain on Container Registry.
1 - Create a New Project in the Google Cloud Platform
Although it is not mandatory, we recommend you to create a new project in the Google Cloud Platform for managing your OIDC authentication. You can find detailed instructions in the Google official documentation.
If you want to use an existing project, feel free to skip the next part.
Steps
Upon your first registration in Google Cloud, one project is automatically generated for you. It is usually called My First Project. You will see it on the top left of your console.
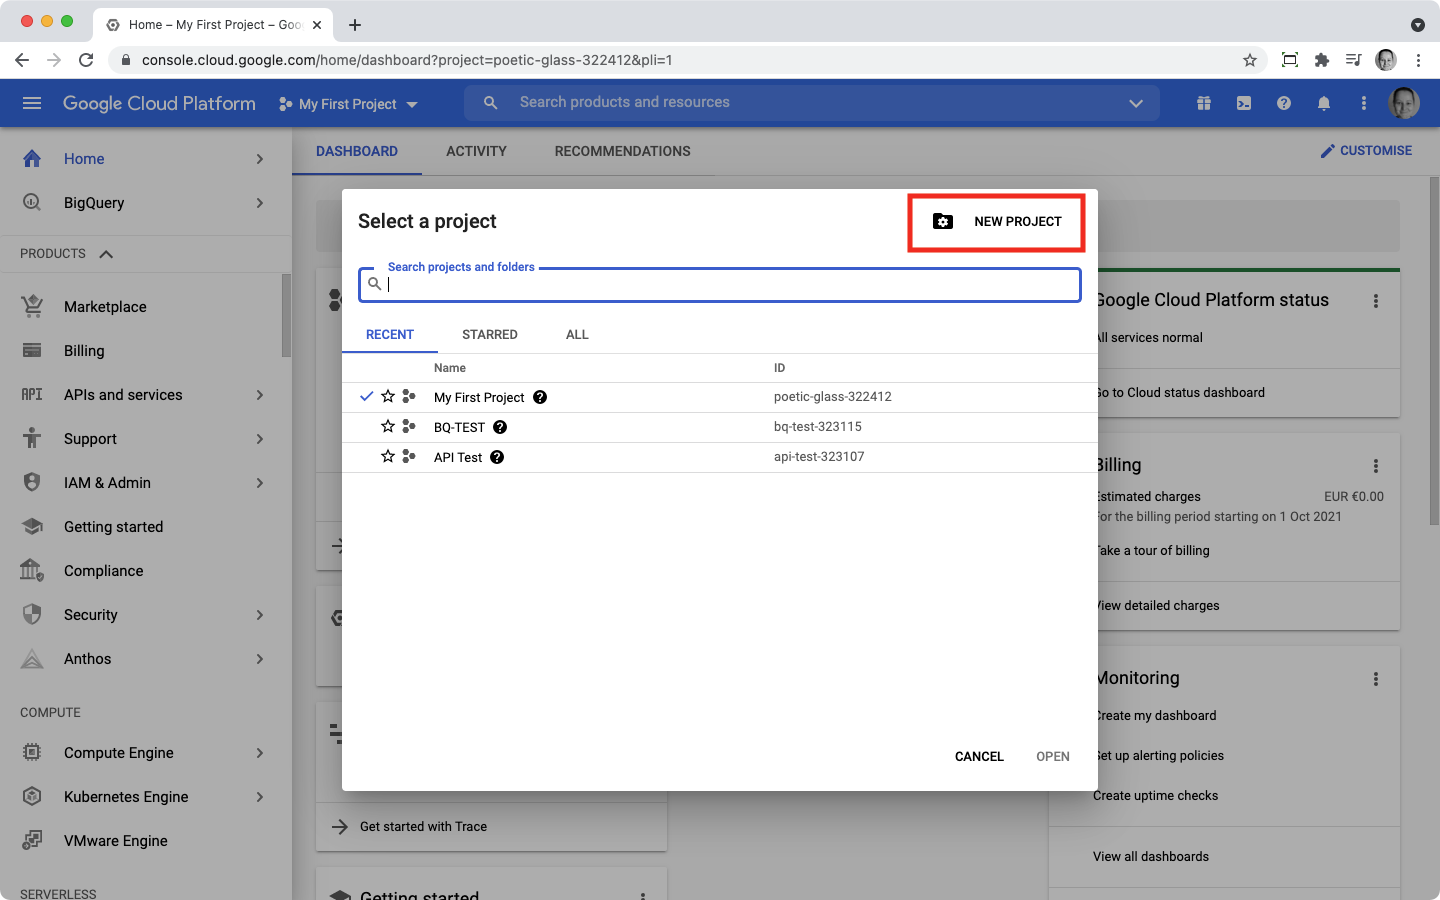
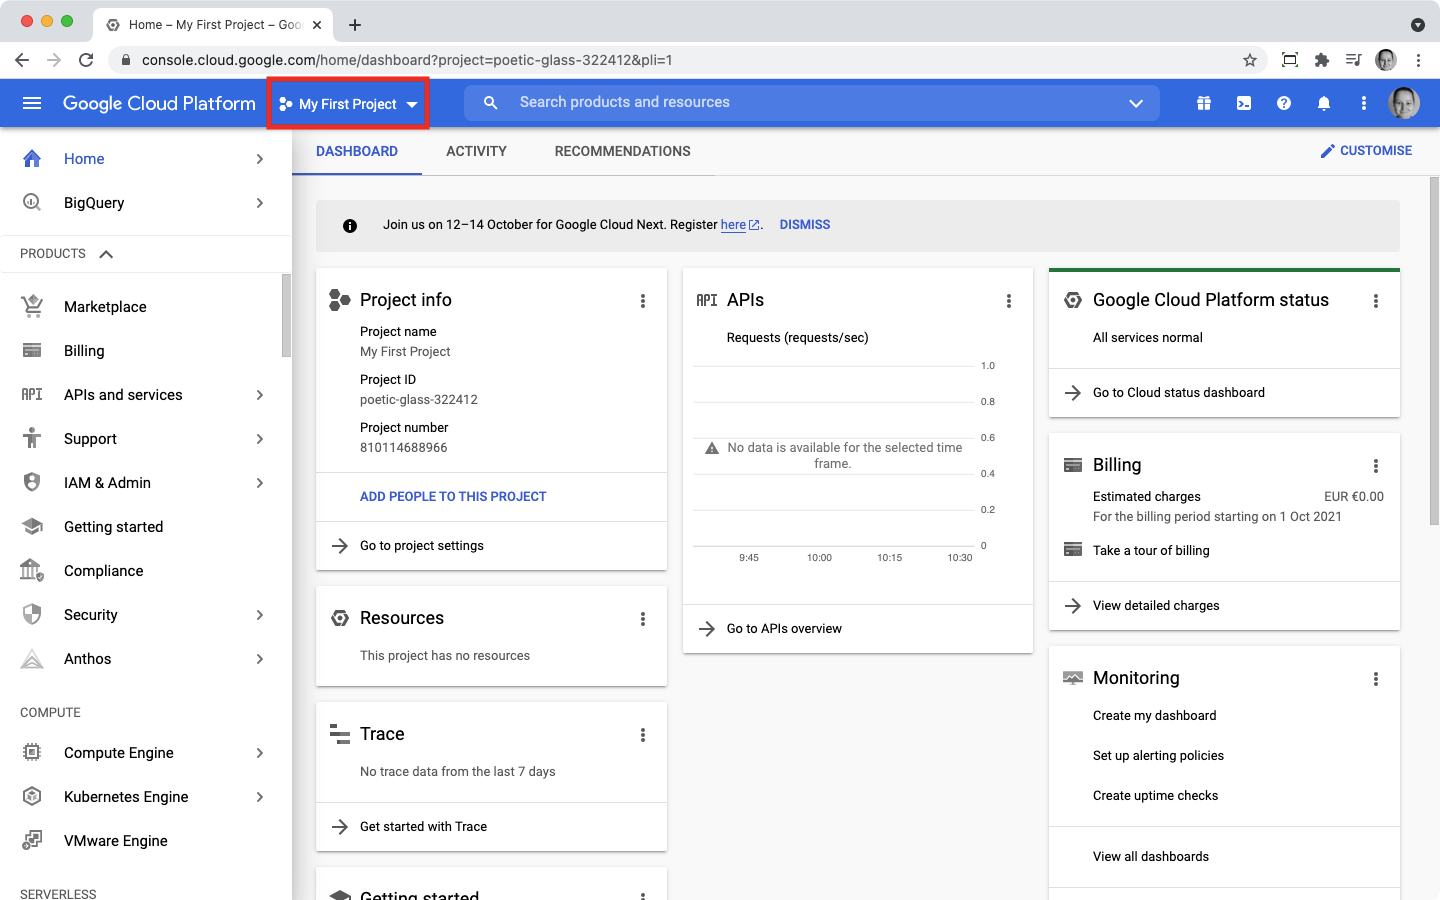 If you click on the arrow next to it, the list of your projects will be displayed. Here, you can find the New Project button.
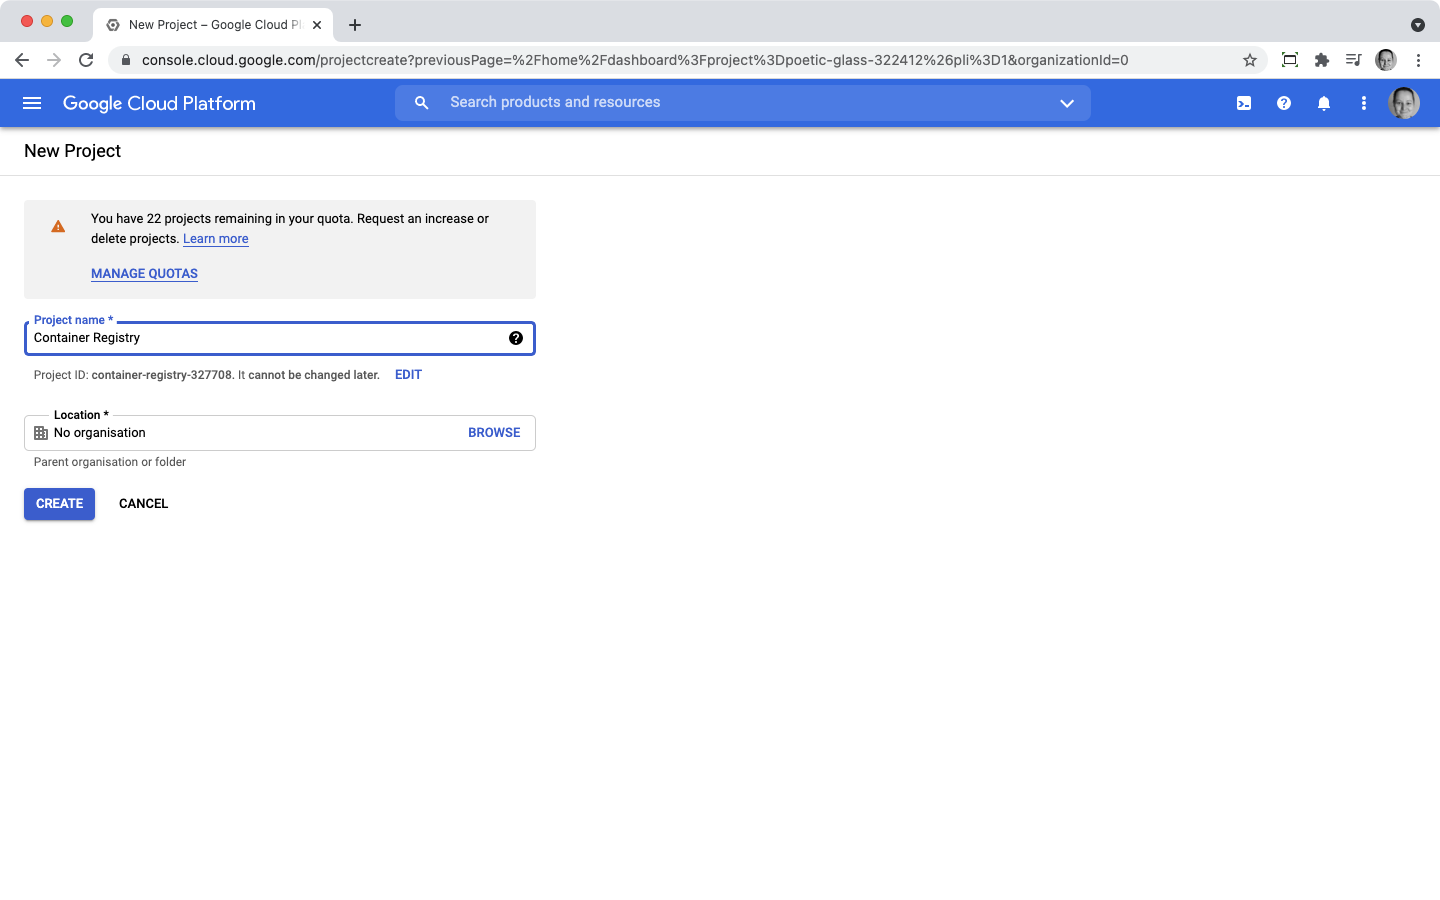
 Give your project a name and hit Create.
 You will be redirected back to your default project. Click on the arrow next to its name again, select the right project, and hit Open.
 We will add it to your DNS record and your domain will appear as authorized in the Google Cloud Console. This may take a couple of days.
2 - Configure Google OAuth Consent Screen
If you decided to create a new project or if your current one does not have a consent screen yet, you have to configure it before you can acquire your credentials.
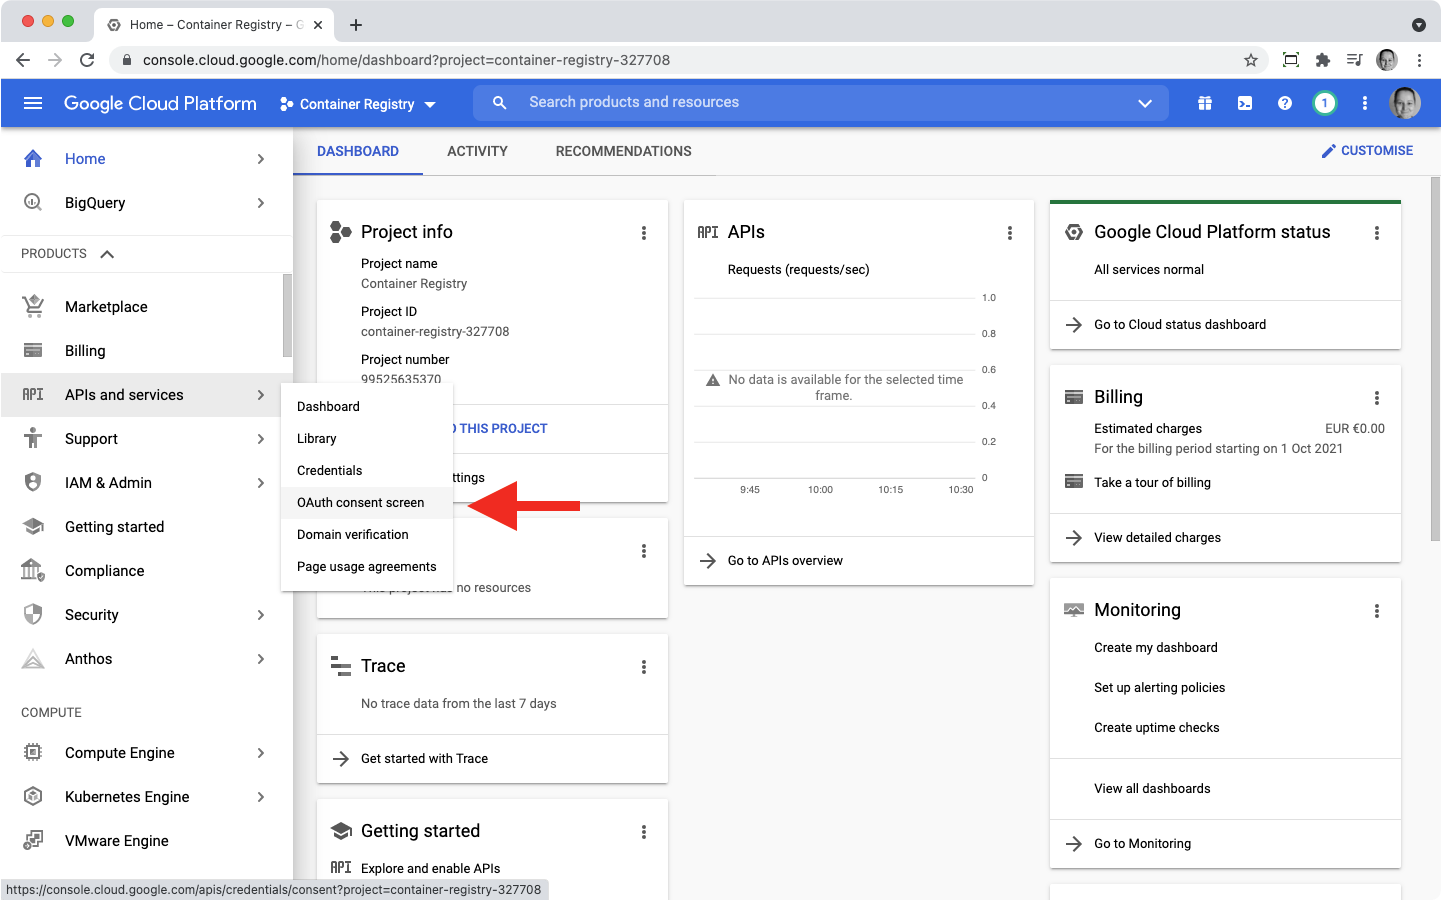
Inside your Container Registry project:
- Find APIs and services on the left pane;
- Select OAuth consent screen;
- Select User Type;
- Consult Google official documentation to choose the right one for you;
- Fill in the mandatory fields:
- your application name;
- user support email: an email that users can reach out to you with;
- developer contact information for the external type of use;
- Add an authorized domain:
- use your custom domain name that needs to be authorized in Google Cloud before as explained above.
- Save your changes, and you will be re-directed to the Scopes configuration.
3 - Configure OAuth Scopes for Container Registry
Scopes specify what kind of user data Container Registry can access in your Google account. You need to add three types of scopes:
- your OpenID;
- your email;
- your general profile information, such as your username. To do so:
- on the Scopes screen, simply click Add or remove scopes;
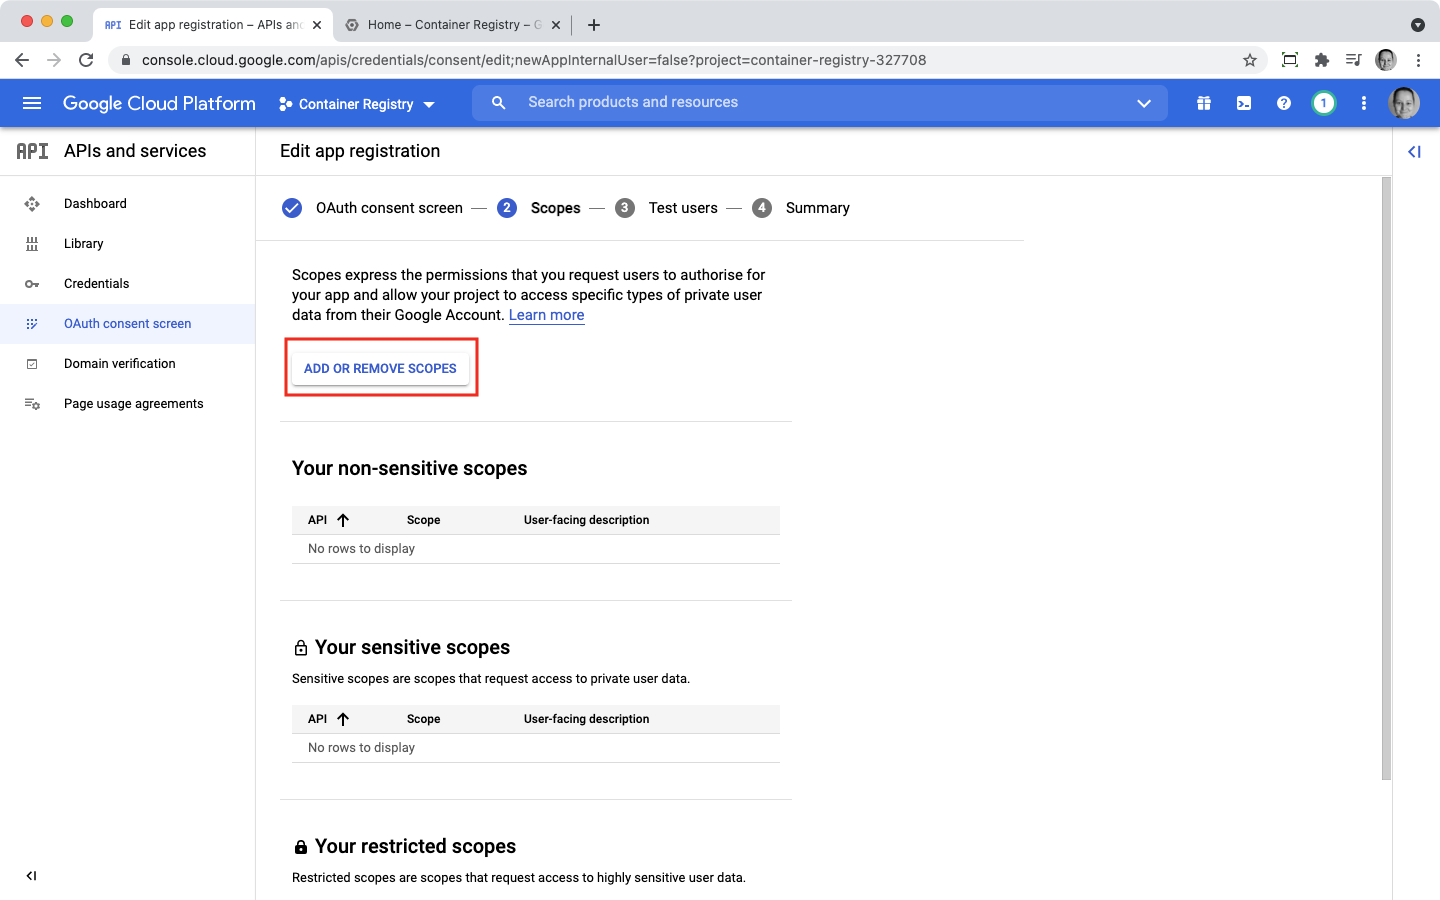
- normally, the scopes you need will appear on the top of the list; they should have no description in the API field;
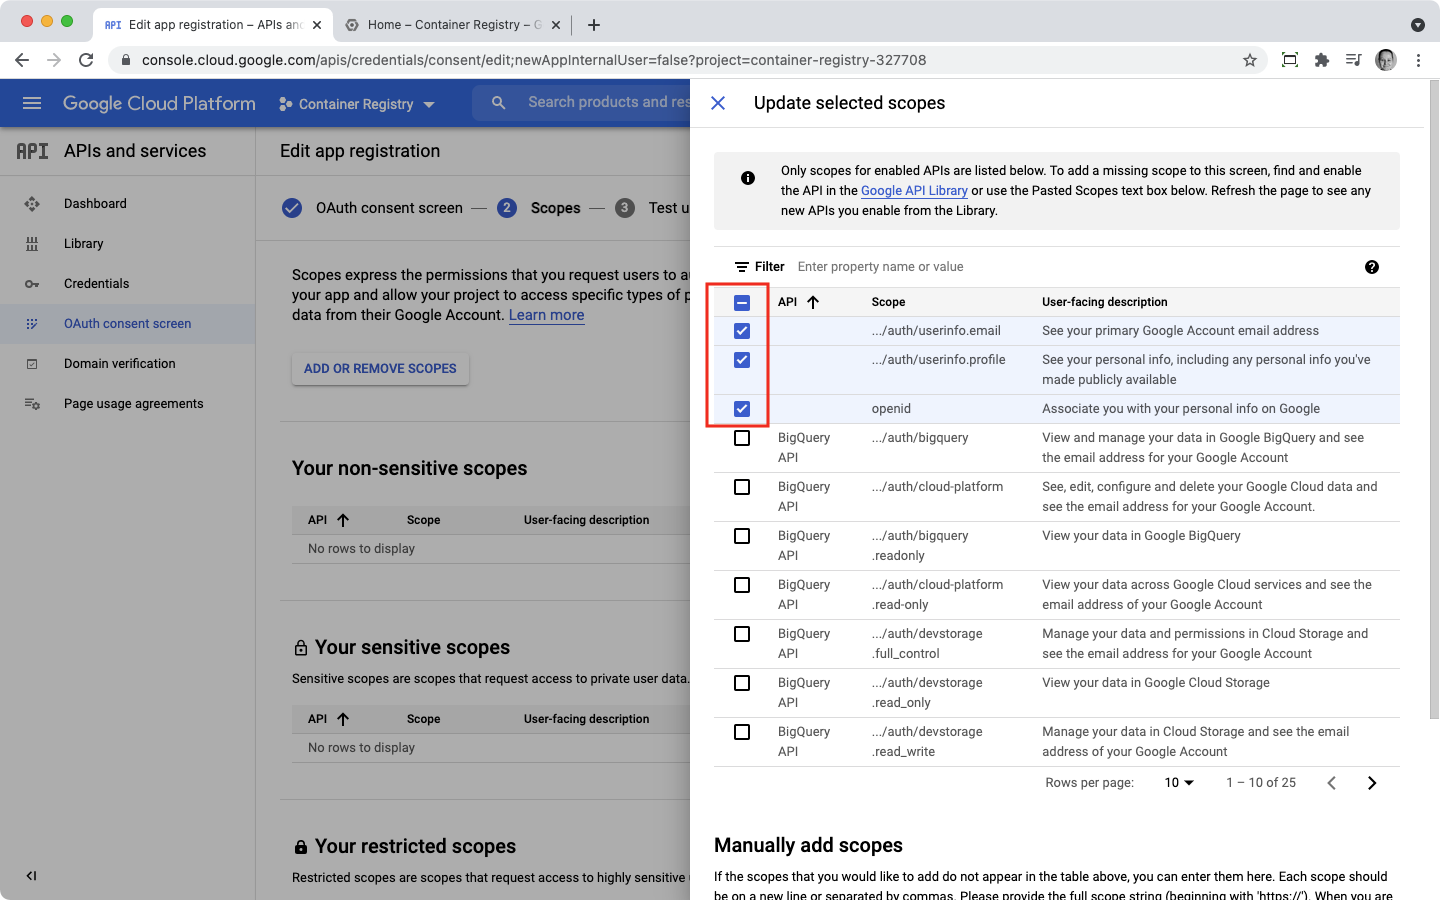
- scroll down the form and hit Update;
- You will see the scopes added to non-sensitive scopes:
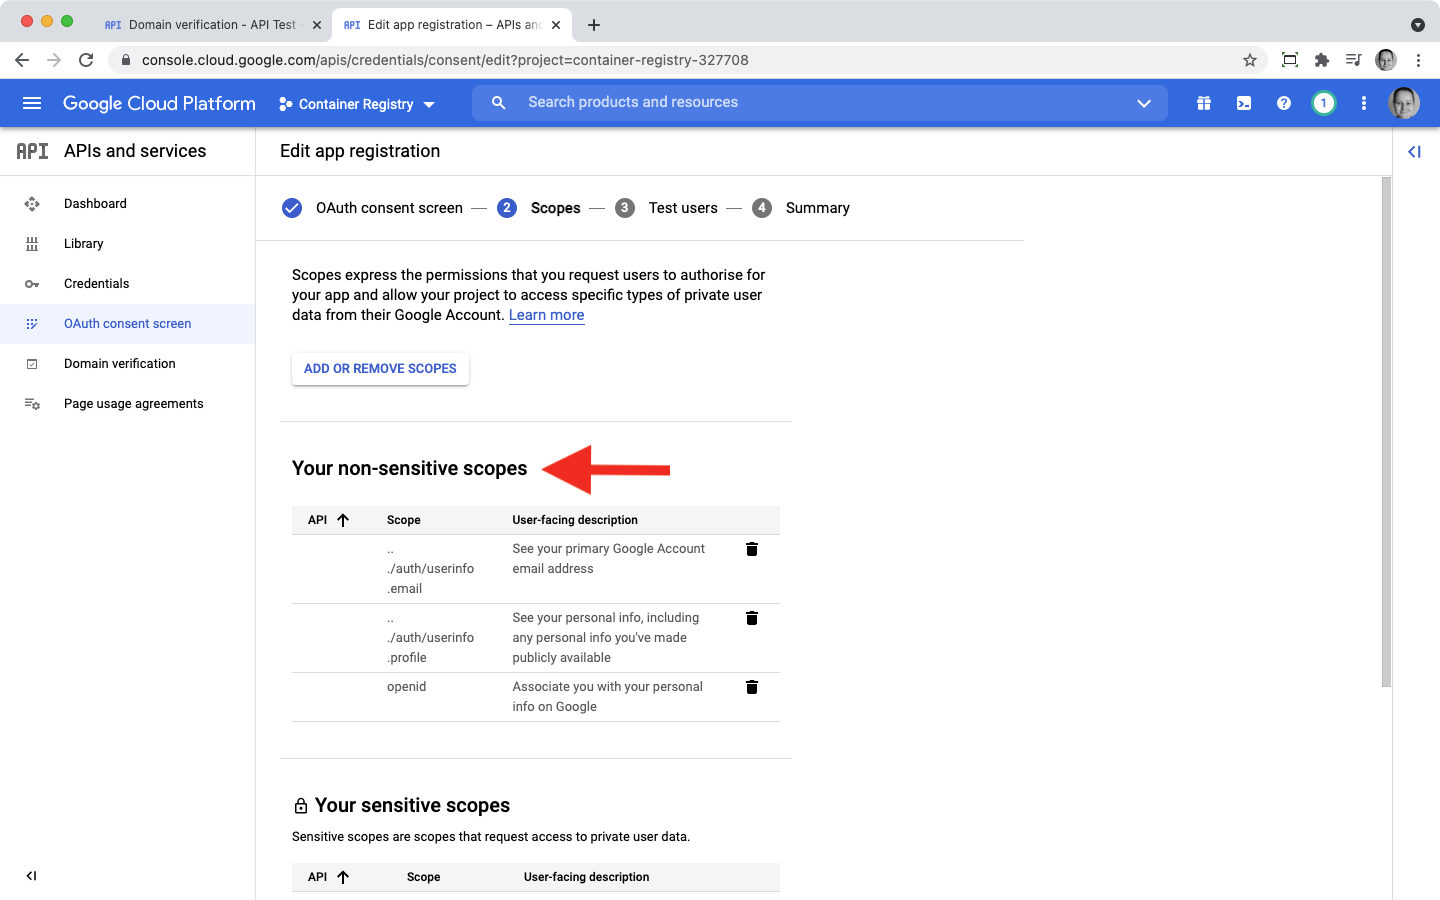
- Click Save and continue on the bottom of the scopes page.
4 - Adding Users
On the next page, you will be able to add users that must be able to log in to Container Registry.
 Click Save and Continue when you are finished.
5 - Publish Your Application
In the last step, after adding the users, you can review your consent screen data. After that:
- scroll down the page and hit Back to Dashboard;
- on the Dashboard, click Publish app and then Confirm to activate the consent screen.
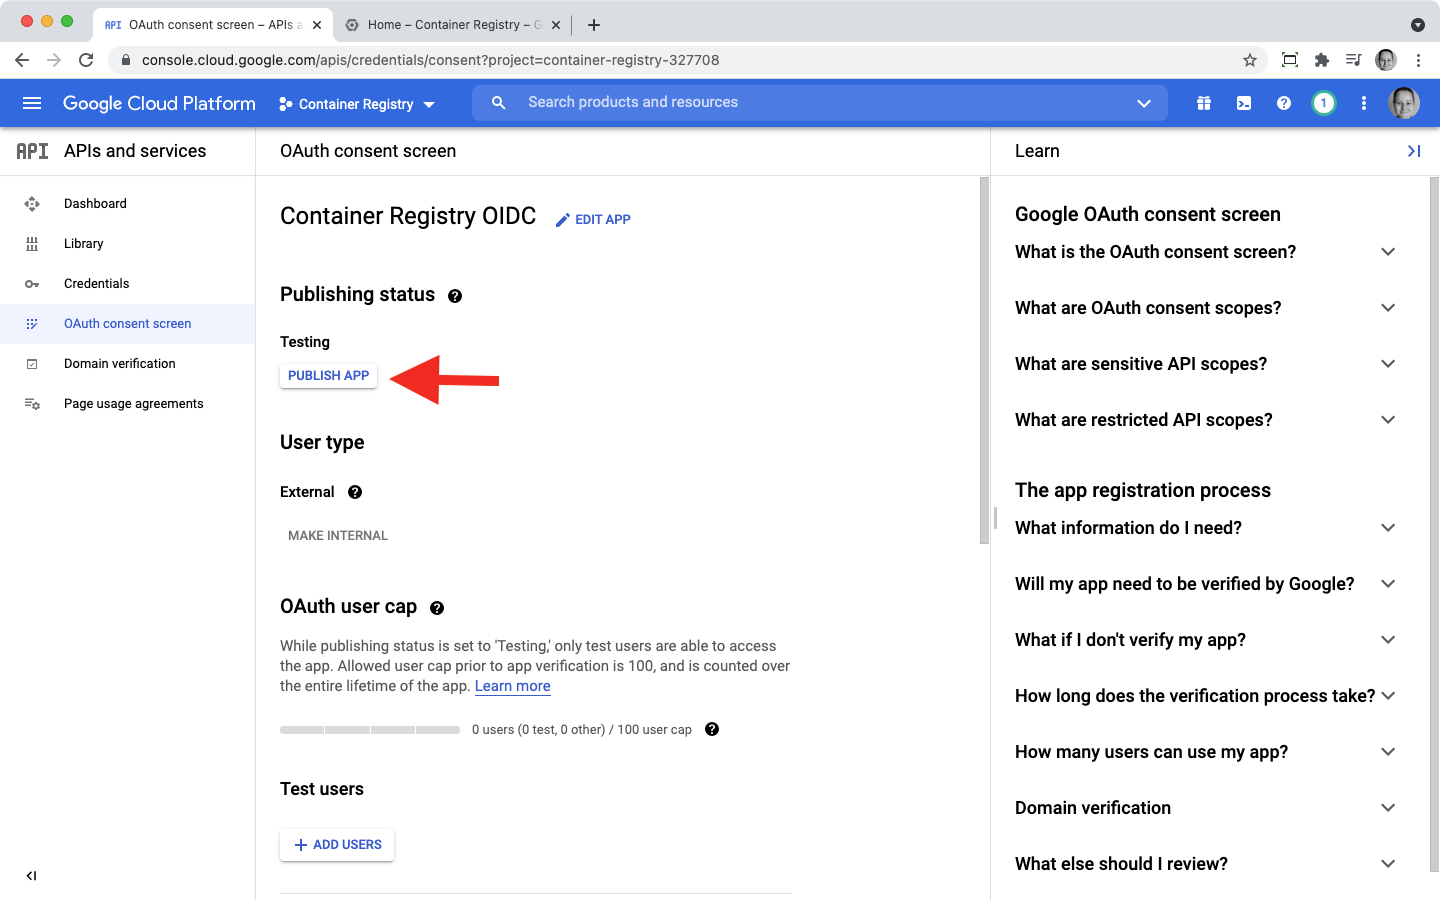
Your consent screen – called application – must yet be approved by the Google team. After that, it will be shown as published.
In the meantime, you can create your API credentials.
6 - Create Your Google API Credentials for OIDC
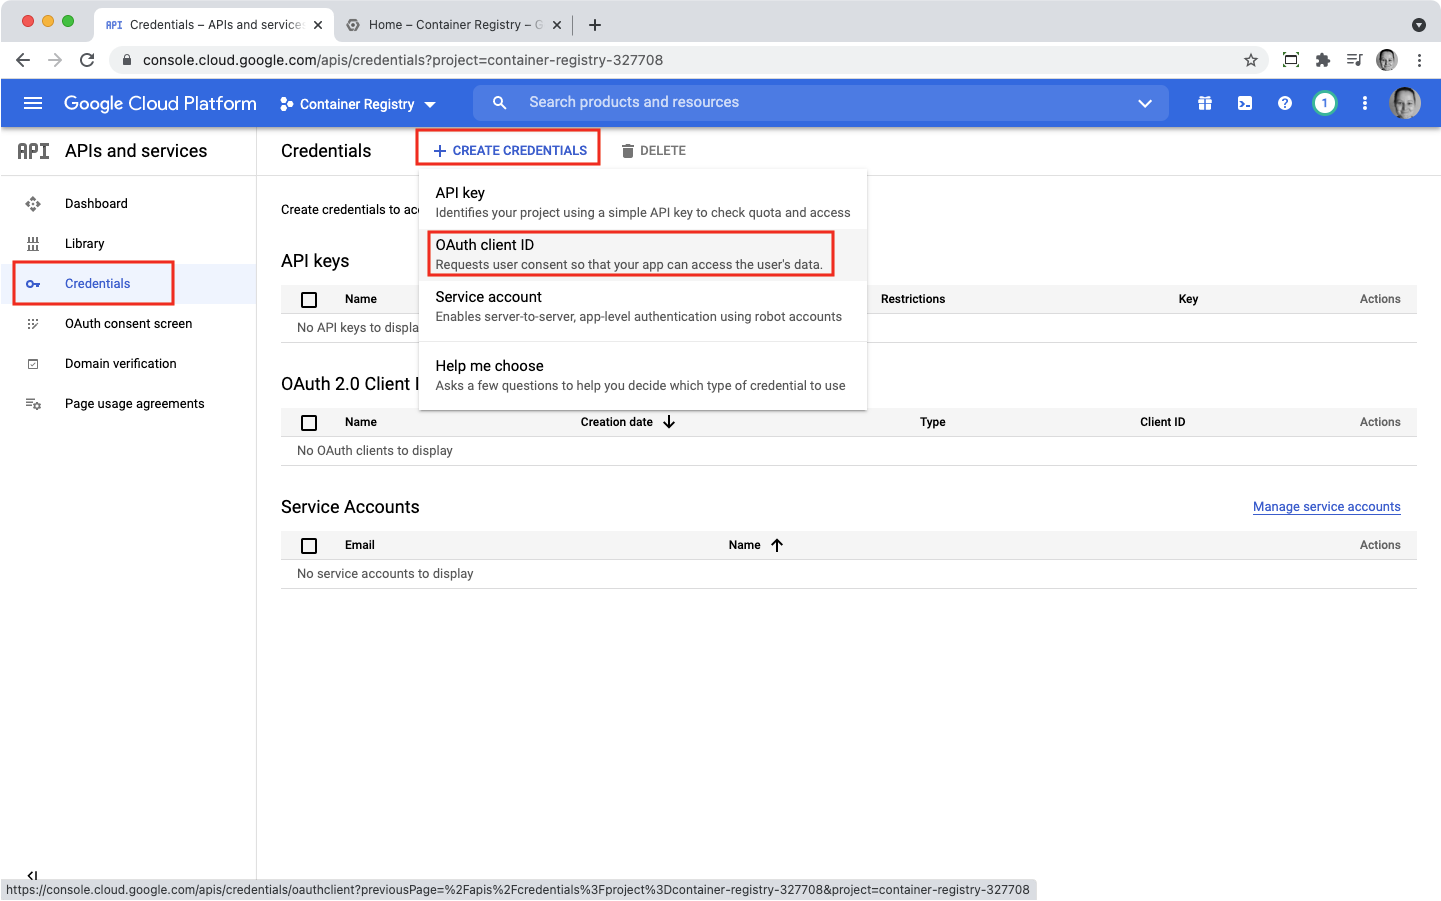
- Find APIs and services on the left pane;
- Select Credentials;
- Click + Create credentials;
- Select OAuth client ID;
- In the Application type, select Web application from the dropdown;
- Give it a name;
- In Authorized redirect URIs, enter the following:
https://your-custom-domain.com/c/oidc/callback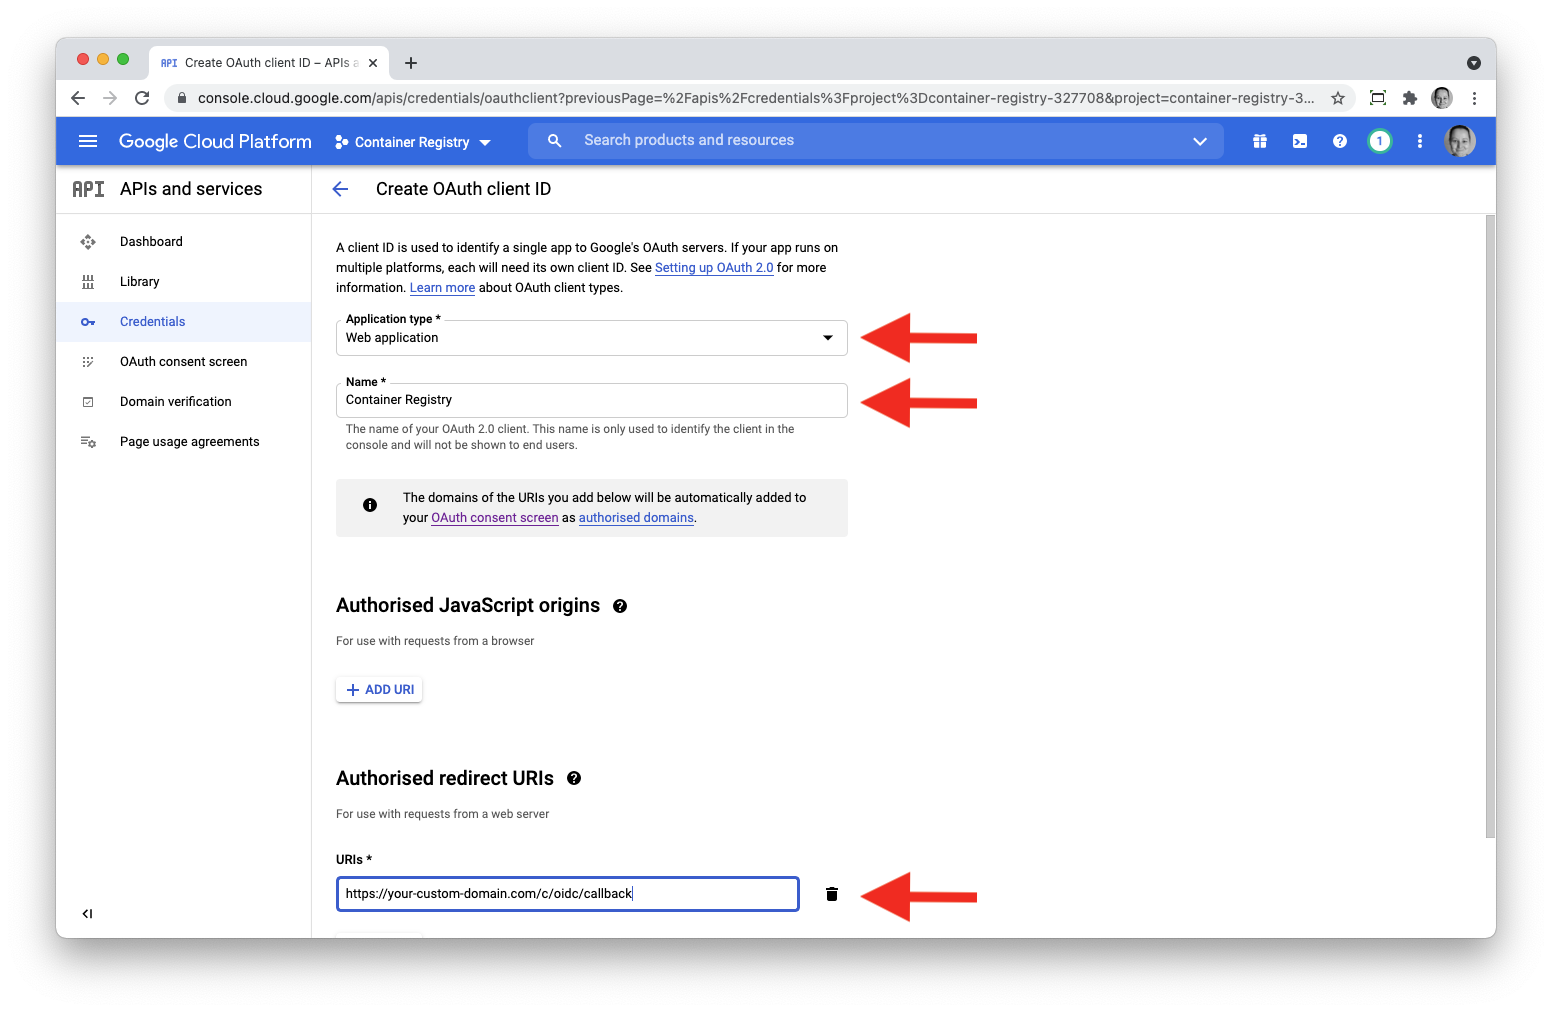
- Hit Create.
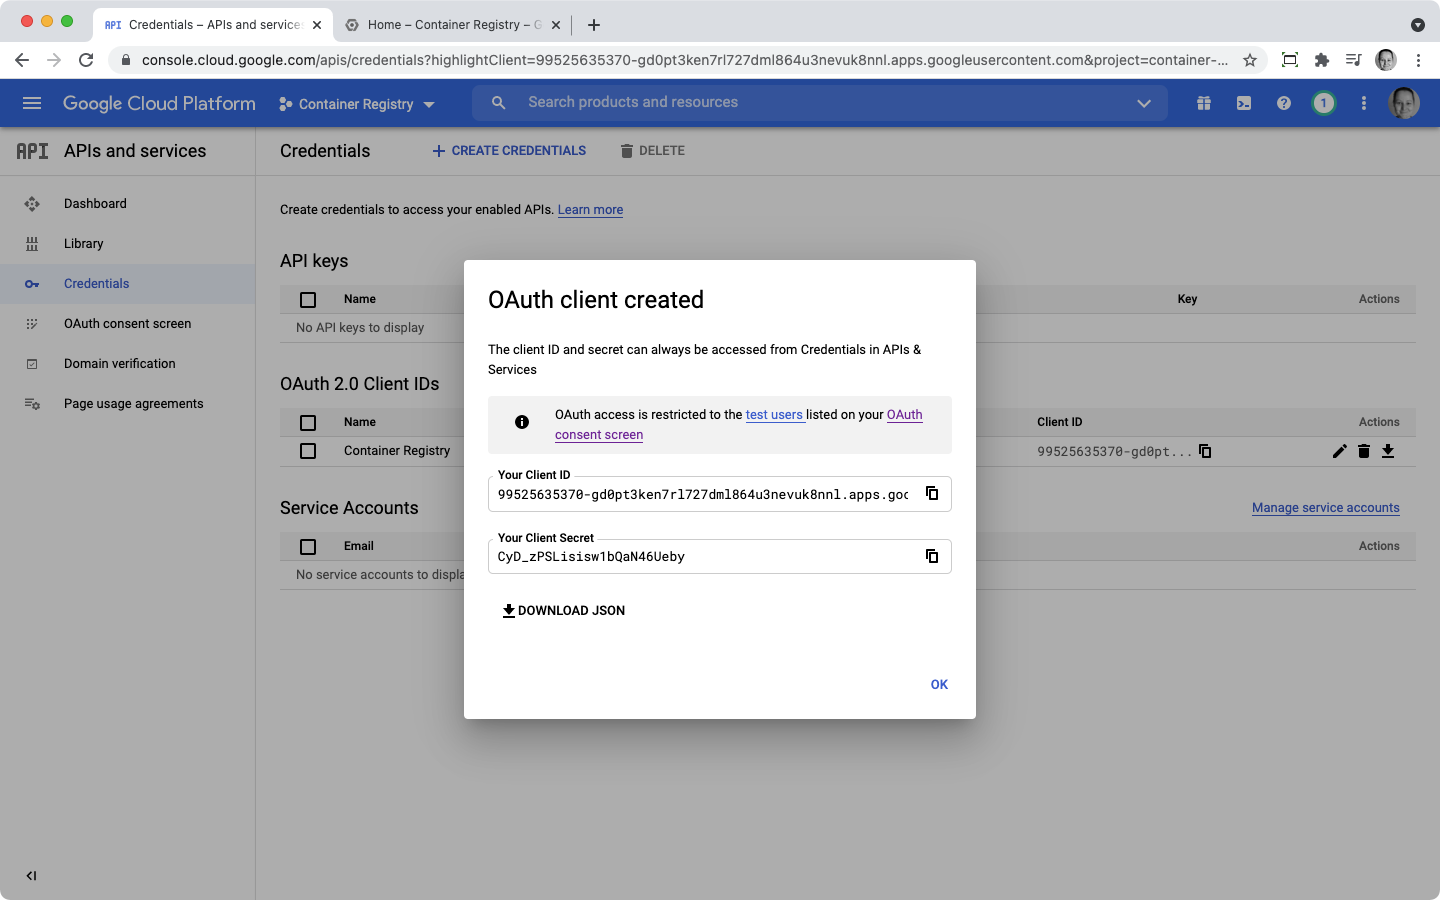
You will see a dialogue window with your credentials that you can copy directly using the Copy buttons next to them or download as a JSON file.
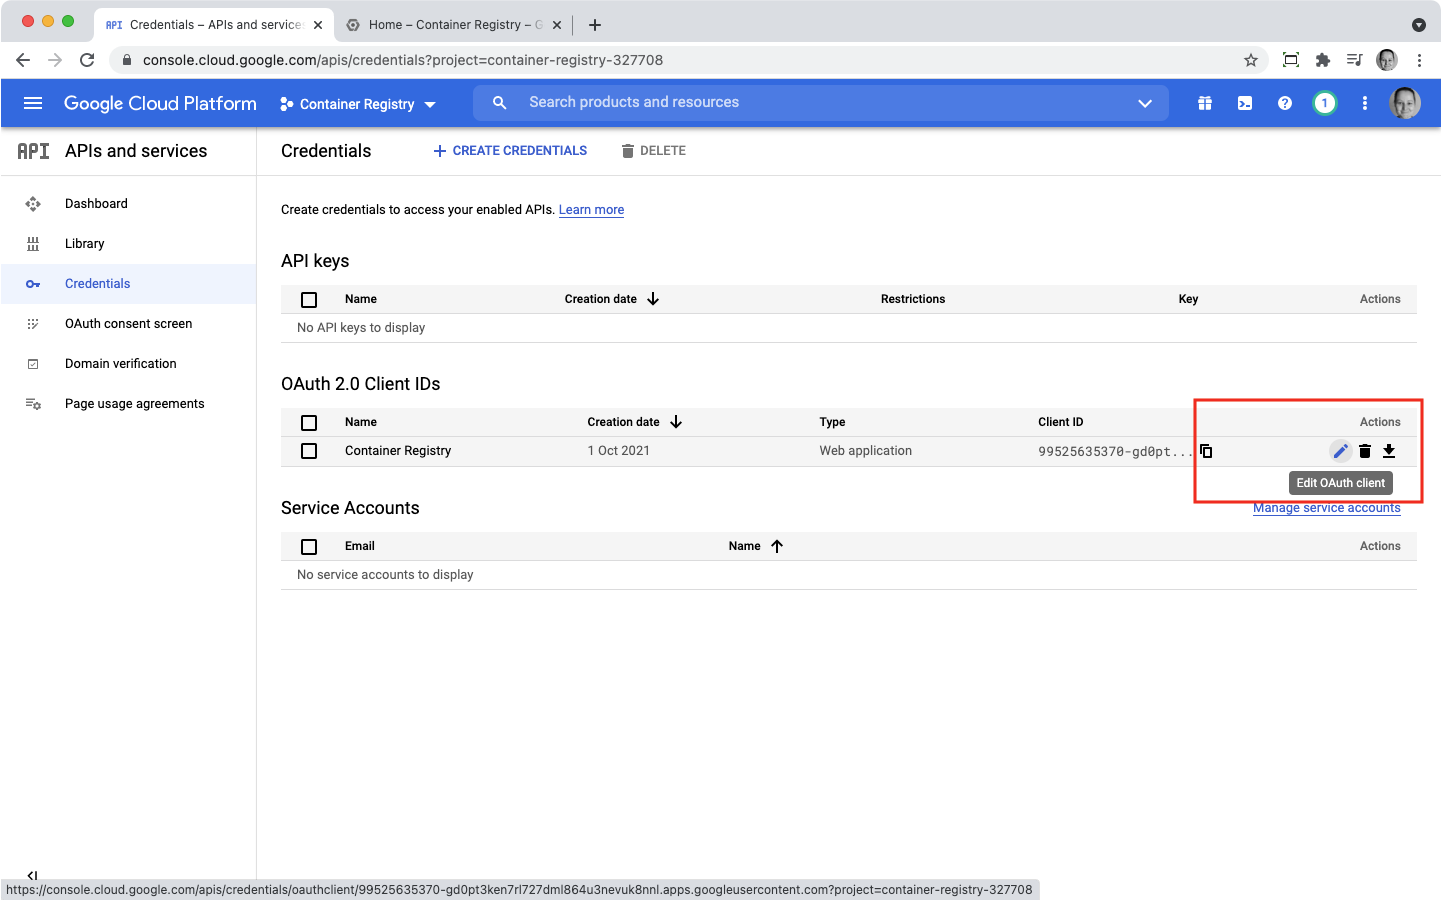
 Your credentials can be accessed, edited, downloaded, or deleted at any time on the Credentials page.
7 - Configure OIDC Authentication in Your Container Registry Instance
Keep your credentials at hand and proceed to this tutorial to finish the OIDC authentication setup for your Container Registry instance.