Artifact Page
When you click on a single artifact, you will be redirected to a view showing detailed information about this artifact. In this view, you can also perform a few additional actions on the selected artifact.
Tags Overview
Working with tags is described in detail in another tutorial since the features for doing this are distributed across the GUI. The current section explains general GUI features that are available in the single artifact view.
The Tags overview table shows all tags assigned to an image. It contains the following columns:

- Checkboxes allow you to bulk-edit tags, for instance, add new tags or remove existing ones.
- Name shows the actual tag without the repository path.
- Pull Command allows you to copy into clipboard the command string that will pull the image with this particular tag. An example:
docker pull your-subdomain.container-registry.com/project/repository[:TAG]
- Signed shows if the image was signed.
- Pull Time and Push Time show when the image was pulled or pushed for the last time.
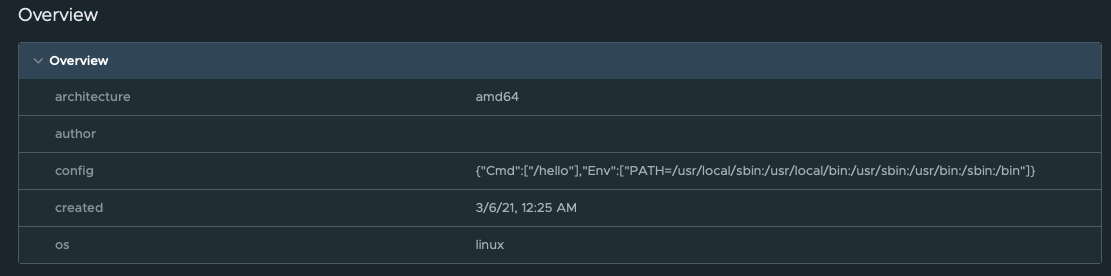
General Information
The next section – Overview, can be expanded or collapsed – shows general information about:
- the CPU architecture the image was built for;
- the author nickname;
- a local path to the configuration file;
- when the image was created locally (for instance, downloaded from a GitHub repository to the local machine from which it was later pushed to the repository);
- for which operating system it was built.
Additions
Vulnerabilities
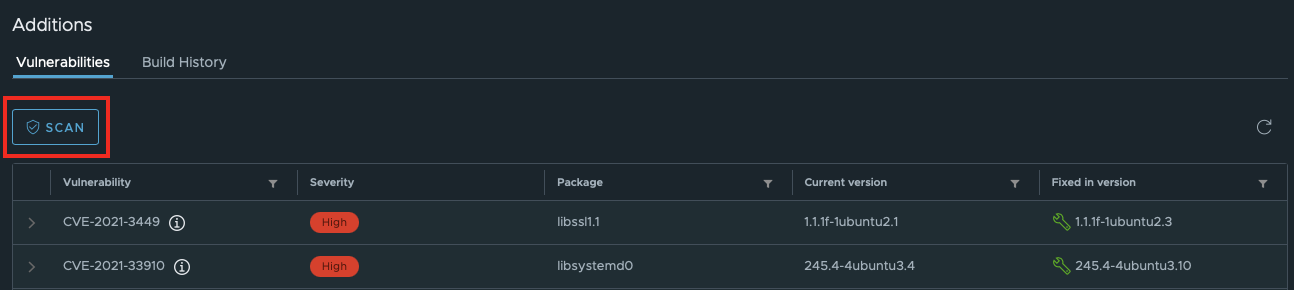
If the image has been scanned and any vulnerabilities were detected, this section will display a detailed report about them.
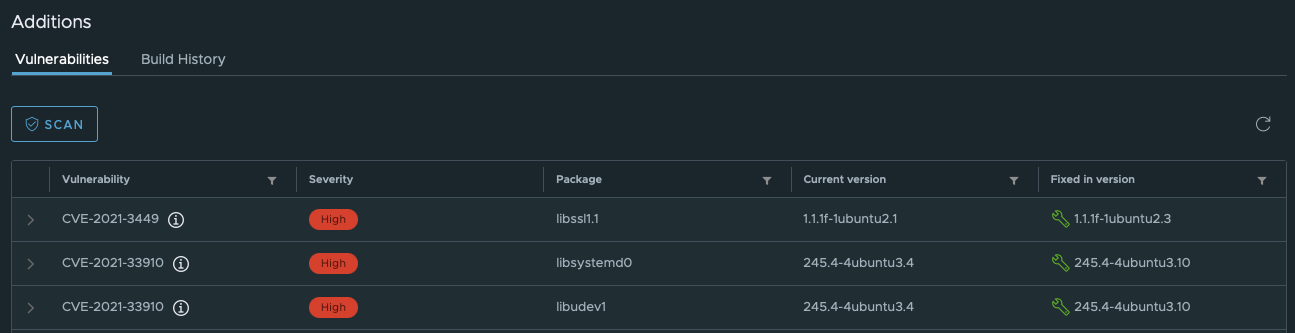 Each vulnerability has a CVE identifier. CVE means Common Vulnerabilities and Exposures. The CVE lists are maintained by the MITRE Corporation, a subsidiary of the US Department of Homeland Security. Each identifier has a year and a sequential number, for instance:
CVE-2021-3449
In the Vulnerabilities table, you can click on the arrow next to the identifier to read the description of the vulnerability. The description is identical to that in the official CVE database. It helps you to learn about the origins of vulnerability and its possible consequences.
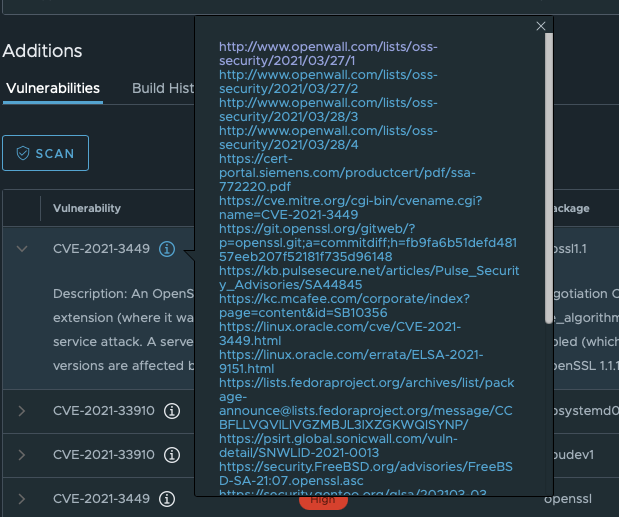
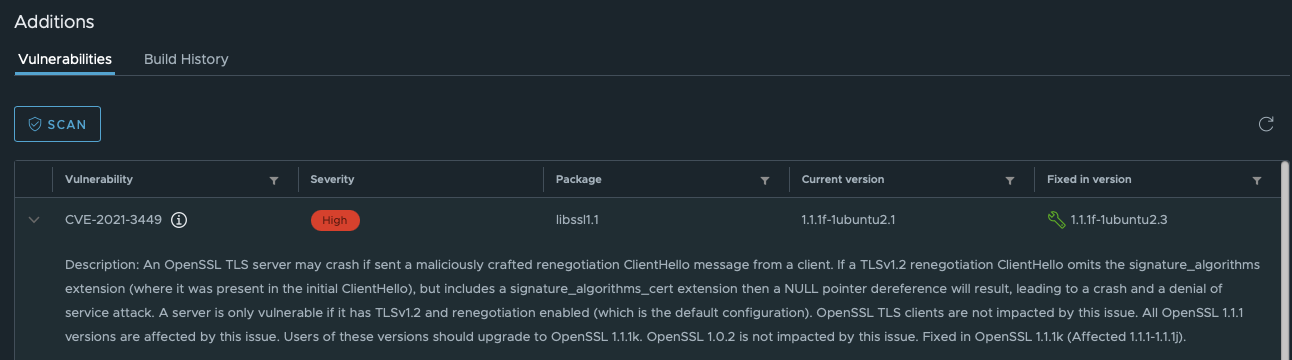 Furthermore, you can click on the i icon twice to retrieve a list of the resources where you can get some additional information about this vulnerability.
 In the Severity column, you can see the severity level of the vulnerability. The levels are calculated using this methodology proposed by the National Institute of Standards and Technology of the US Department of Commerce.
The Package column shows which package (of a programming language) causes this vulnerability.
The Current version column shows which version of an operating system is affected by this vulnerability, whereas Fixed in version column shows which version (and higher) of the operating system is free from the problem.
You can perform a new scan on the image using the Scan button to refresh the list of vulnerabilities if you have at least project administrator privileges.
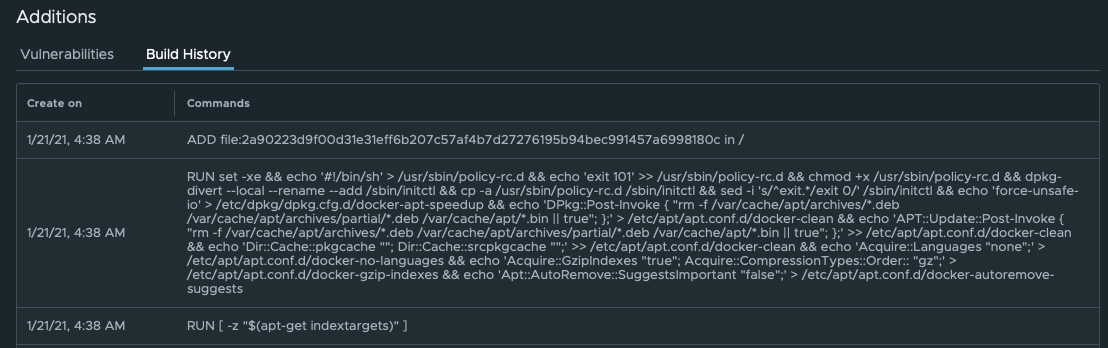
Build History
If you are the person who worked with the image before pushing it to the repository, the history of your changes is retrievable locally using this command:
docker image history [IMAGE]
In Container Registry, you can see the same history in the Build History section. It may be useful if you want to locate the origin of the source code and track other changes.