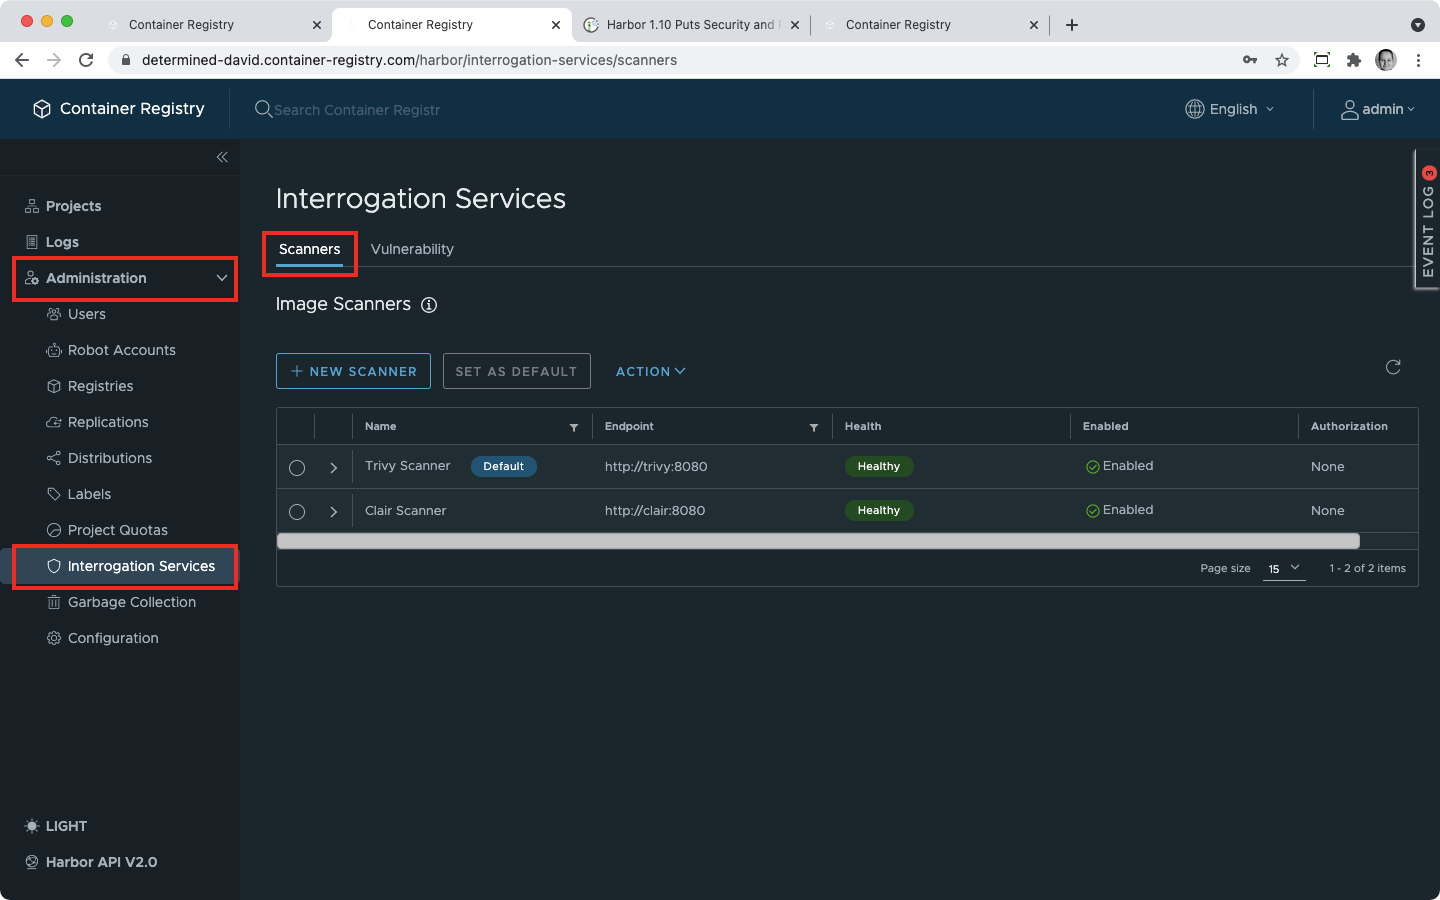
Manage Pre-Installed Scanners
You can find pre-installed vulnerability scanners under Administration -> Interrogation Services -> Scanners.
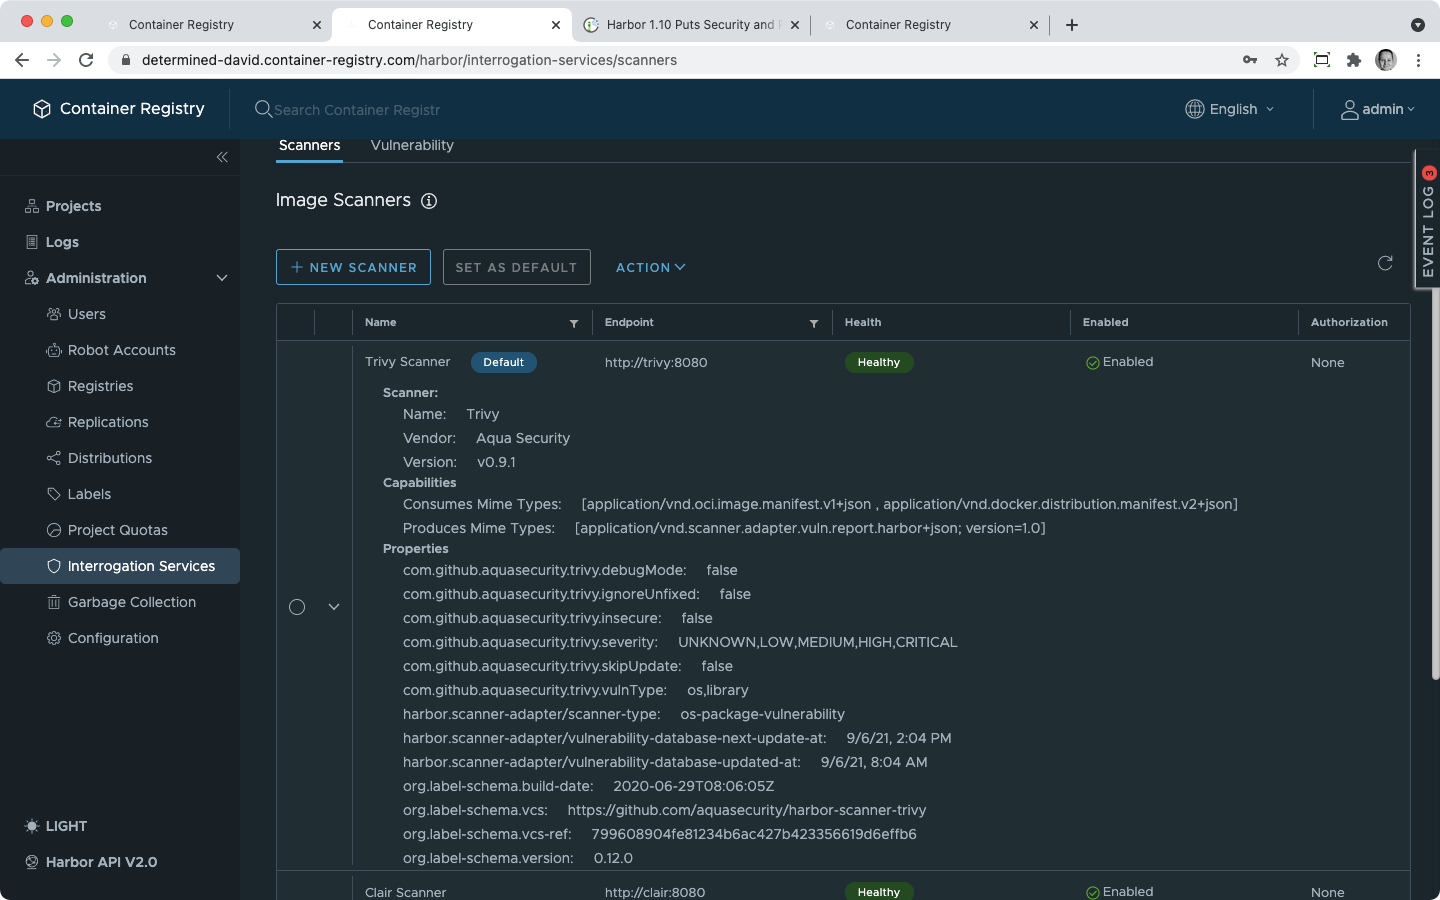
 If you click on an arrow next to a scanner, you’ll see the most important details about it.
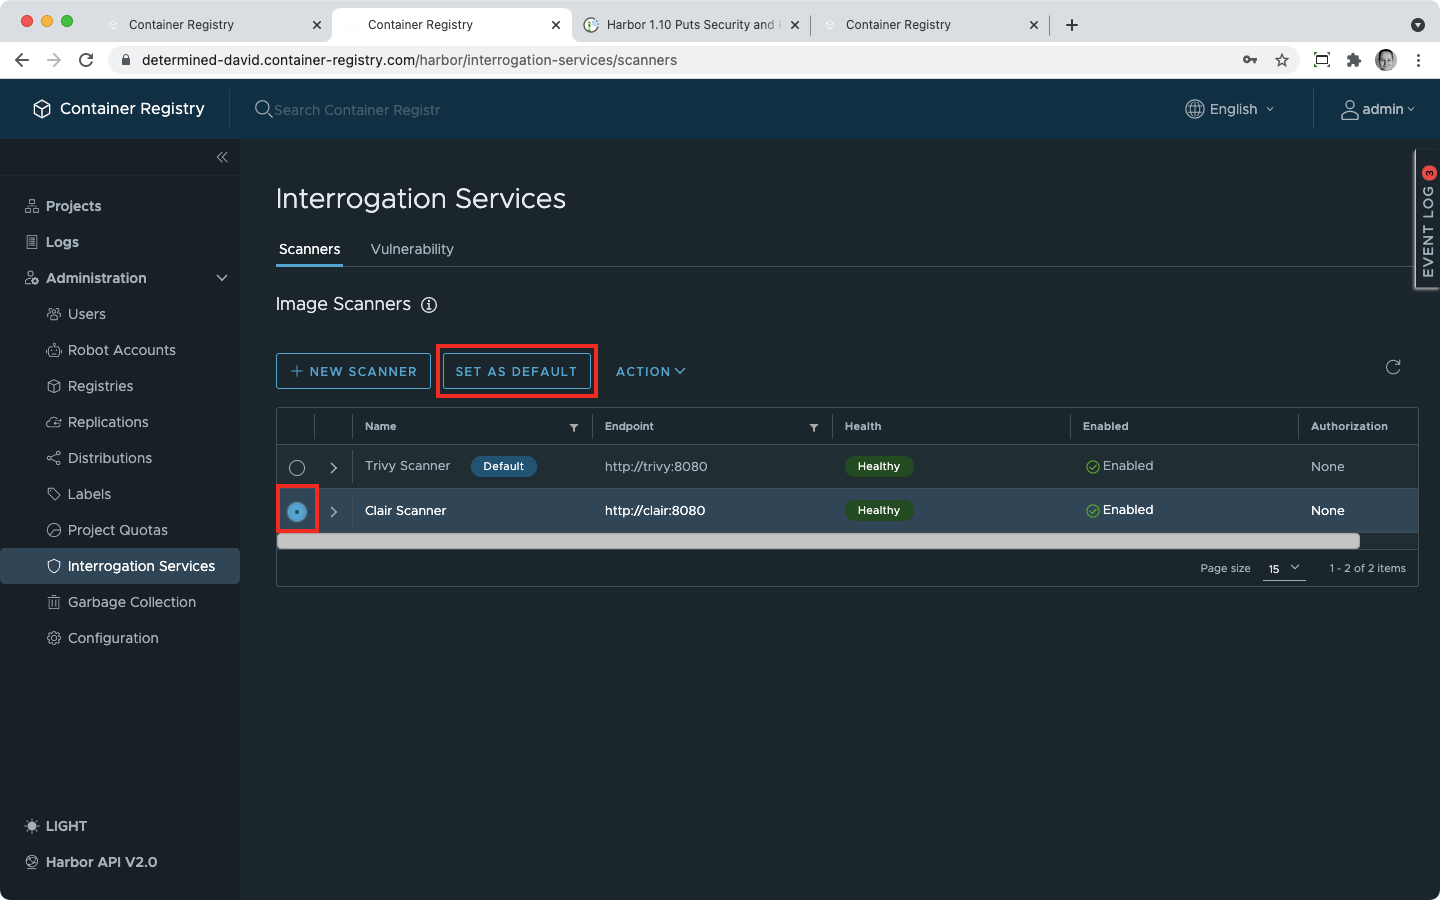
 If you select a scanner using the small circle next to its name, you can perform the following actions with it
Set a Default Vulnerability Scanner
Use the Set as Default button to set a new default scanner for your instance:
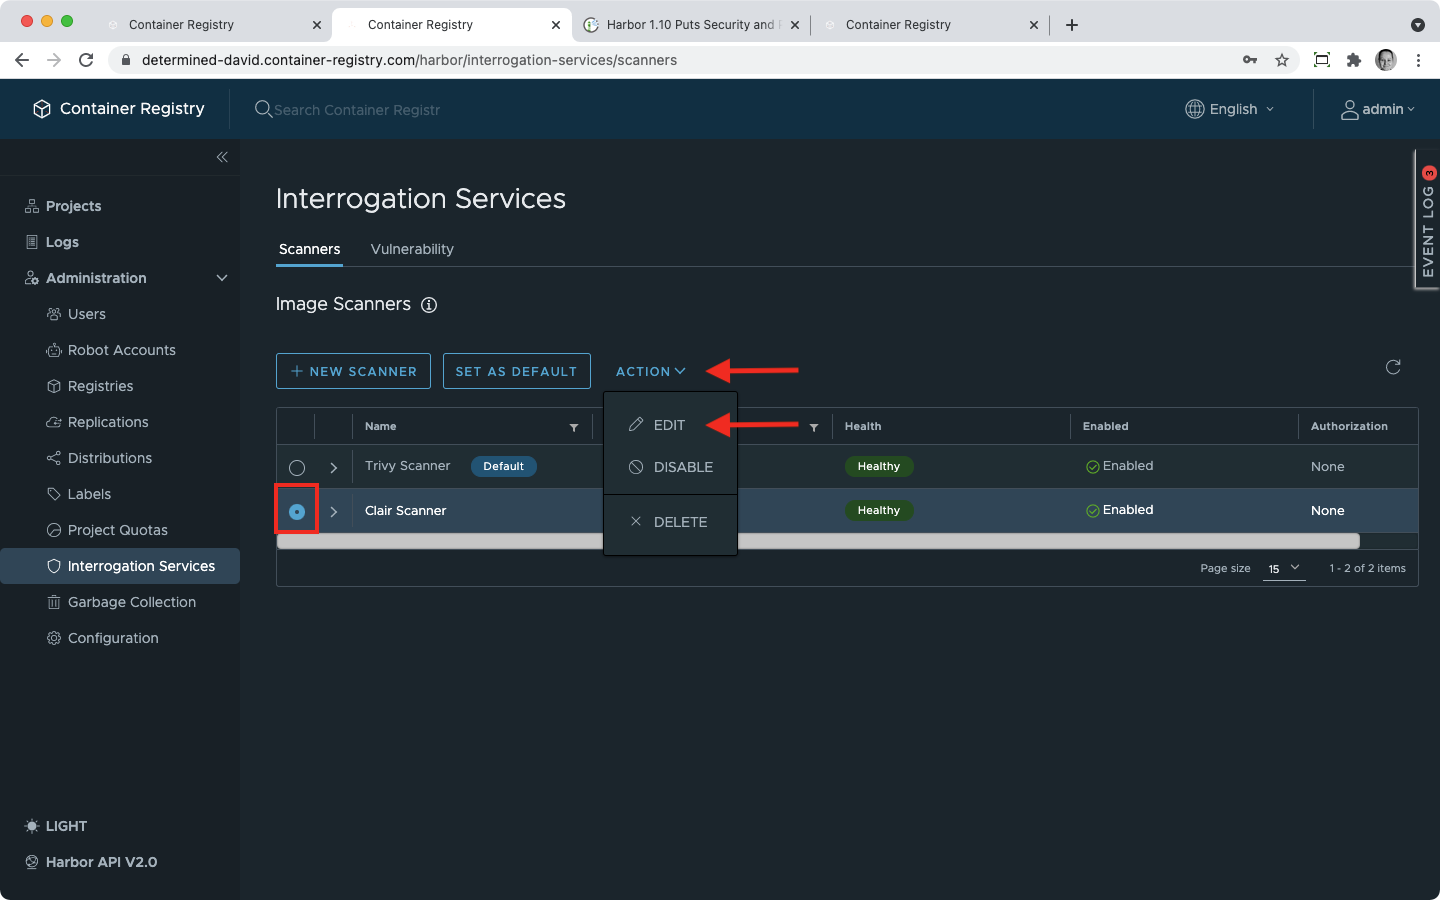
Edit Existing Scanner
Click on the Action button and then select Edit:
 That will open a dialogue window where you can change:
- the scanner’s name;
- its description;
- the endpoint URL;
- authorization method;
- certification verification;
- registry address option;
as described here.
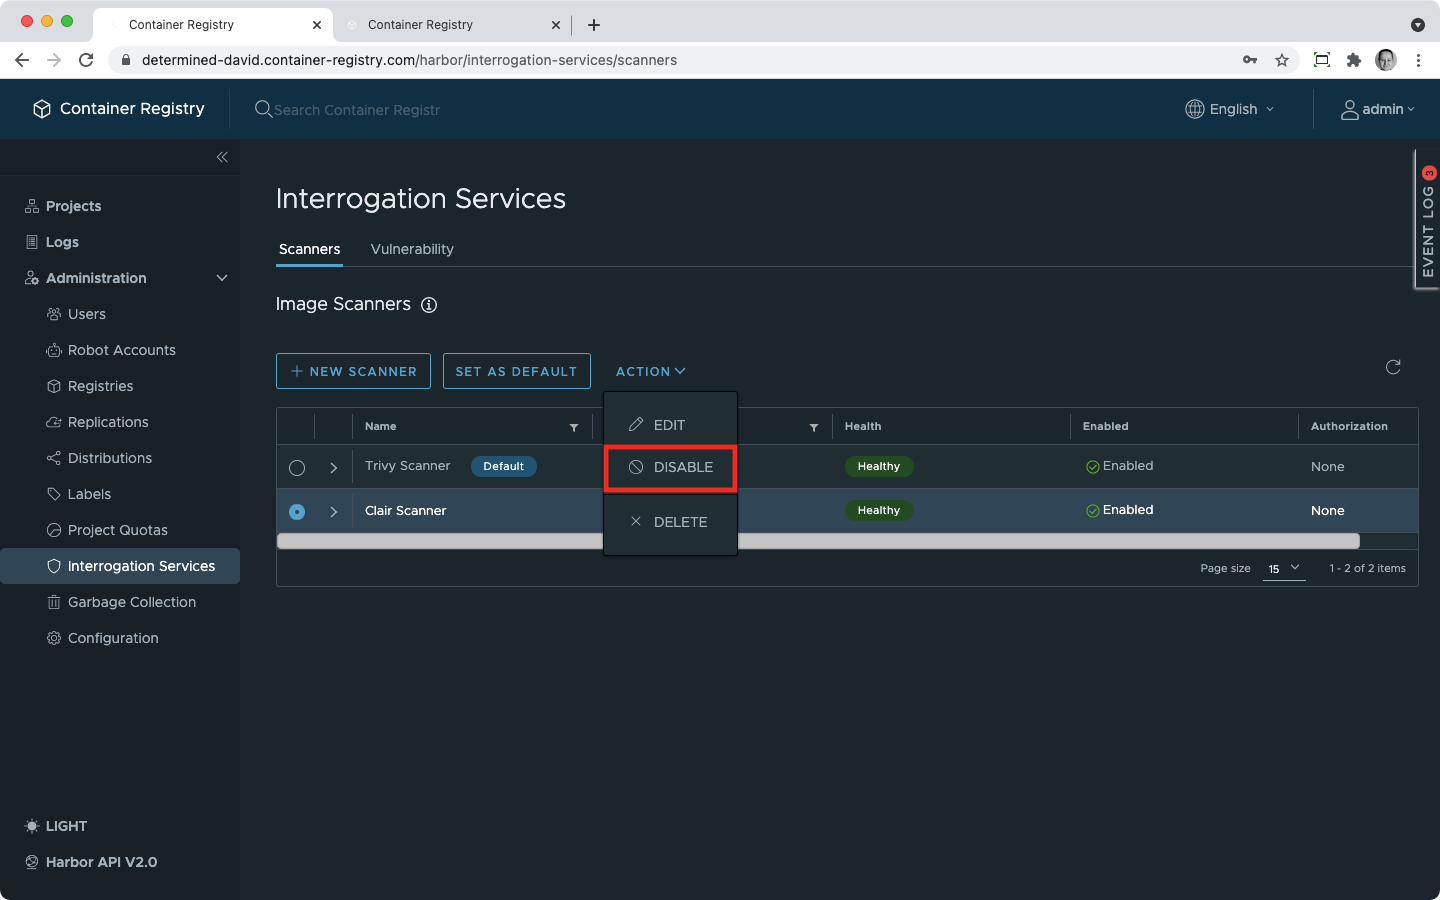
Disable or Enable a Scanner
When you disable a scanner, project admins won’t be able to add it to their projects or use it as a scanner if it has been already added before disabling.
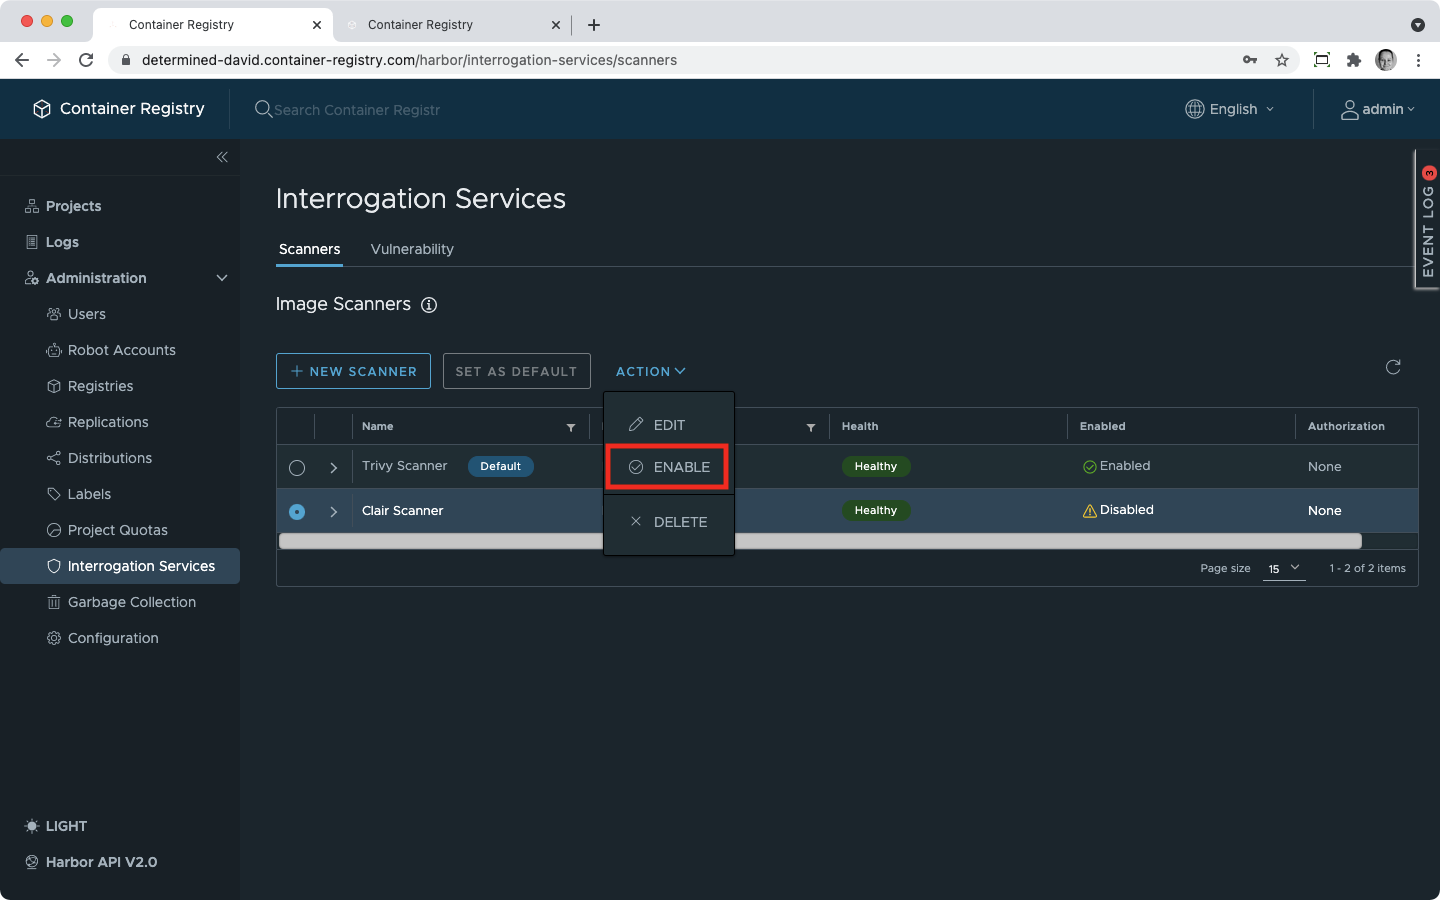
 To allow using the scanner again, enable it.
Delete a Scanner
You can delete a system scanner using the Action button.