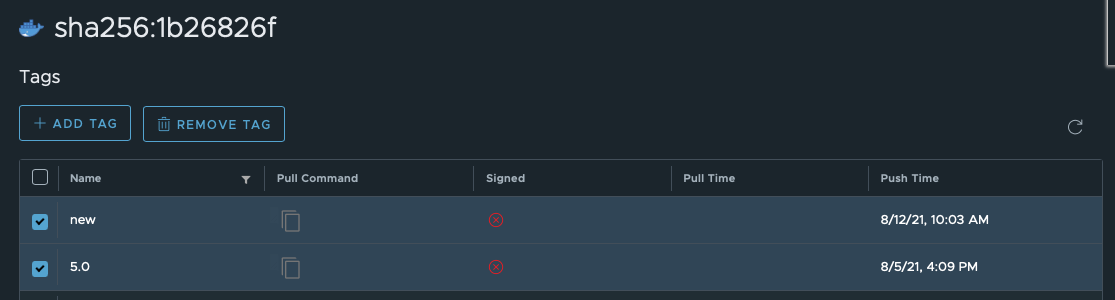
Image tags have a function similar to those of the branch refs in Git: pointing to a state of the artifact at a specific time. Originally, the purpose of image tags was to differentiate between multiple versions of the same image. But more often than not different tags may refer to the same image.
The tags come in handy when you want to pull and run an image. SHA256 hashes – the native identifiers of the Docker images and their versions – are difficult to read and impossible to memorize. Tags replace them in a way and help to spot the image you need quickly and refer to it in a more human way.
Contrary to the labels, tags are not only visible inside your Container Registry project but they remain “attached” to the image after it is pulling from the repository and as long as they are not removed using the Container registry GUI or a command line tool.
You can check which tags are assigned to an image using one of the methods:


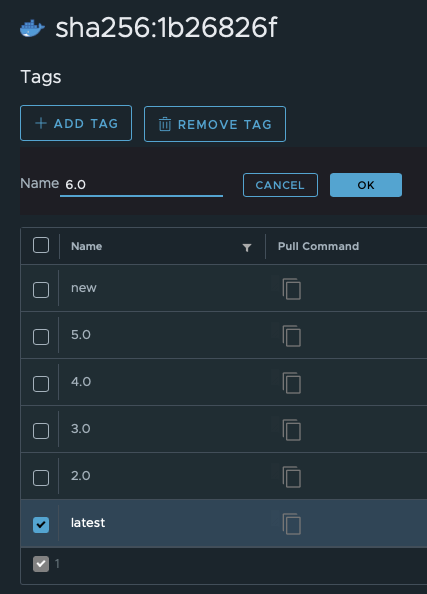
You can add tags to image versions inside the Container Registry GUI. Since you are not building the image at this moment, the old tag and the new tag will refer to the same image. It may make sense, though, if you want to tag the latest image which has a default “latest” tag to make it more catchy and easy to find.
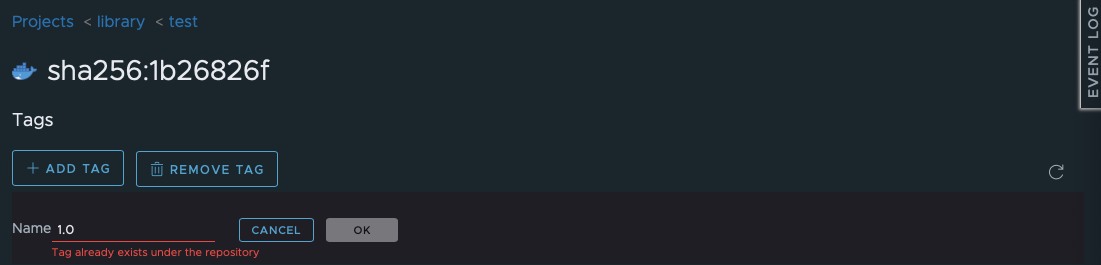
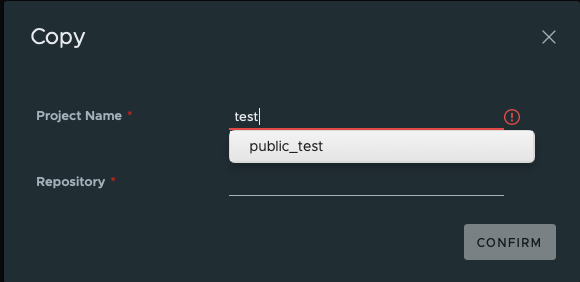
If you try to tag an artifact with the tag that already exists in the same repository, the error message will appear and you will need to select another tag:
Retagging images in the Container Registry GUI is different from adding tags since it copies the artifact into another repository and/or project.
To retag an artifact:
Prerequisites
In the source repository, you need at least guest access which is read access; in the target repository, you need at least developer access or above to have writer permissions.
Removing tags in the Container Registry GUI is different from removing tags using docker rmi command in a command line tool. Even if you remove all tags, the image – the artifact – won’t be deleted.